If you follow
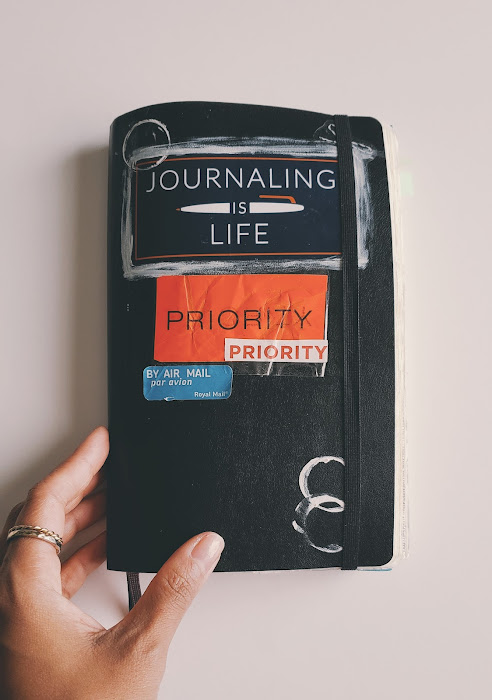
José on Instagram, you may have seen the DIY Moleskine he recently posted. Remember that wonderful journal of his that he was so kind to share with us
here? Well, José shows us just how he adds his favored vergé paper. (Be sure to also check out this
Youtube video he recently posted displaying more of his journaling pages. Absolutely stunning!)
For those that do not have an Instagram account, see below for José's step-by-step DIY Moleskine instructions:
Materials:
-Moleskine cover
-Good quality paper
-Scissors
-Cutter
-Ruler
-Thread and needle
-Adhesive for bookbinding
-Cotton fabric for bookbinding
Folding the sheets. Cut the A4 sheets in A5 size. Only 15 sheets A4 from 100g/m2 paper are enough for a moleskine pocket. Fold them and make groups of 3 sheets each. Press them properly.
Binding. Perform 5 holes with a needle and a template. Sew applying the method you like.
Paste the stack. Press the sheets in order to apply glue only on the edges. Set the cotton fabric and apply more glue. Release the stack and paste the wings of the fabric to the paper. This will avoid tiny clearances between the sewn sheets.
Cutting the paper. Cut the edge of the stack to fix into Moleskine dimensions. Use the sandpaper to shape the corners.
Remove the paper. Kill the Moleskine. Do not suffer or produce too much tears. Cut the paper from the second pasted pages (front and rear part of the notebook). Reuse the register tape and glue it in the new paper.
Insert the new paper. Paste the stack made with the new paper into the cover. Apply glue only on a small area of the external sheets, not in the edge. Voilà! New notebook is ready for all kind of inks.
Extra. When the notebook is complete is a good idea to add a few more details like stylish paper in the first pages or an acid-free tissue paper pocket for better conservation when being stored.
For more of José's journalings, be sure to check out his Instagram account, @jose_naranja.


 Inspiring Traveler's Notebook Charms
 My Top Favorite Planner Supplies
 Artbox Korean Sticker Haul
 Micro Office Tool Box
ahhh this turned out so pretty. what a great idea to have your own pretty unique notebook!
ReplyDeleteYes, José is so creative with a very unique style!
DeleteStumbled upon your blog when I was looking for tips for my Midori Traveler's Notebook. Love it and hope to see more from your blog :)
ReplyDeleteThank you so much for reading! I plan on posting more on the Midori, so be sure to stick around. ^_^
DeleteI get stuck at "good quality paper". Do you know what he's using? I wish paper liked my fountain pen as much as I do. Thx.
ReplyDeletefirst paragraph - he uses 'verge' paper
ReplyDelete